Knowledge Base Article
Add Tasks in the Task Management Module
Tasks are single items of work that need to be completed by someone on your team. The Team Tasks module keeps that work visible and assigned. Anyone designated as a team member can be given a task, whether they are a staff member, an Argenta user, a board member, or a volunteer.
Create a task
Choose Workflow & Productivity > Team Tasks from the main menu. That opens your list of active tasks. Click Add A New Task. A short form asks for the task title. Press Add & Enter Details and Argenta creates the task and opens the Task Workspace on Task Details. Everything else is on that next screen. Change your mind and Cancel & Exit leaves nothing behind.

Add A New Task opens a short form asking for the title.
Fill in Task Details
Six fields are required, each marked with an orange asterisk:
- Task Title, up to 140 characters.
- Date Submitted, which starts on today's date.
- Due Date, which starts thirty days out. Change it to whatever the task really needs, as long as it is not earlier than Date Submitted.
- Work Hours (#), the hours you expect the task to take. It starts at 4.
- Billable Hours (#) and Hourly Rate ($), which start at 0 and $100. Check the rate even if you do not bill anyone: the task will not save with either one empty, and zero is a perfectly good answer.
Everything else is optional:
- Current Status, Task Category, and Priority, all chosen from your own classification codes.
- Assigned Team Member. Start typing a name and pick them. This is what puts the task in front of somebody.
- Associated Client/Customer and Requested by Constituent, both type-aheads, for tying the task to who it is for and who asked.
- Date Completed, filled in once the work is done. It cannot be earlier than Date Submitted.
- Chapter, Division, and Department. Political organizations also get District and Precinct; choose the district first, since it drives the precinct list.
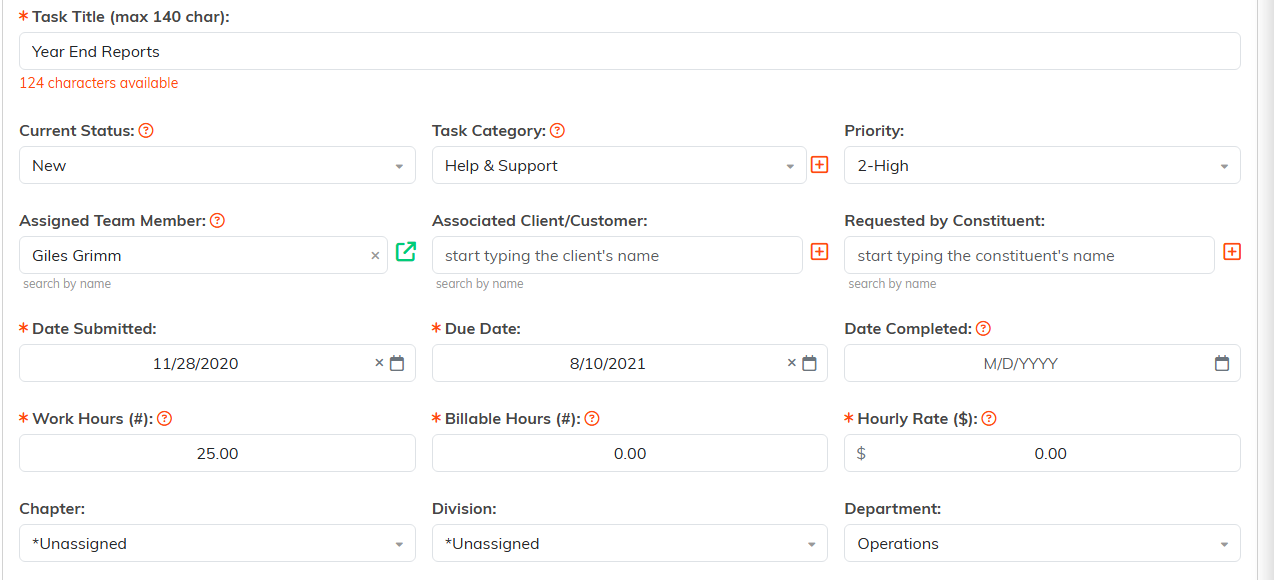
Six fields carry the orange asterisk. Zero is a fine answer for the money ones.
At the top of the page, Set As View Only lets others see the task without editing it, and Lock This Record stops them opening it at all. Master admins, the person who created it, and anyone named on Record Permissions keep their access.

Both switches sit at the top of the page.
Save with Save and Continue to keep working, or Save and Exit to return to the list. Exit Record leaves without saving, and the Save icon (a floppy disk) at the top of the workspace saves at any time.

Exit Record leaves without saving.
The workspace menu
Across the top of the Task Workspace is the workspace menu. Alongside Task Details it holds:
- Connections, Specifications, and Sub-Tasks for breaking the work down and tying it to related records.
- Sprint Planning and Task Spark for planning work across a cycle.
- Task Checklists for the steps within the task. See Add Checklists.
- Task Billing and Time Tracking for the hours and what they are worth.
- Meeting Minutes, Notifications, and Contact Log.
- Task Files and Task Notes. See Add Related Files and Add A Note to the Notes Section.
- Record Permissions, with a View Only Access panel and a Locked Record Access panel. Start typing a user's name in the Add User box, choose them, and click Add. People under View Only Access can still edit a view-only task; people under Locked Record Access can still open a locked one.

Everything a task can carry lives on this menu.
When a task turns out to be bigger than a task
Some tasks grow. From the workspace you can Convert Task To A Project, or convert it into a task within an existing project, so the work carries on without being retyped. See How to Convert a Task to a Project.

The convert and delete controls sit in the title bar.
Delete This Task is also in the workspace when you need it.
Other ways to see your tasks
The task list is not the only view. There is a board view and a calendar view of the same tasks, which suit different ways of working: the board for moving work through stages, the calendar for seeing what is due when.
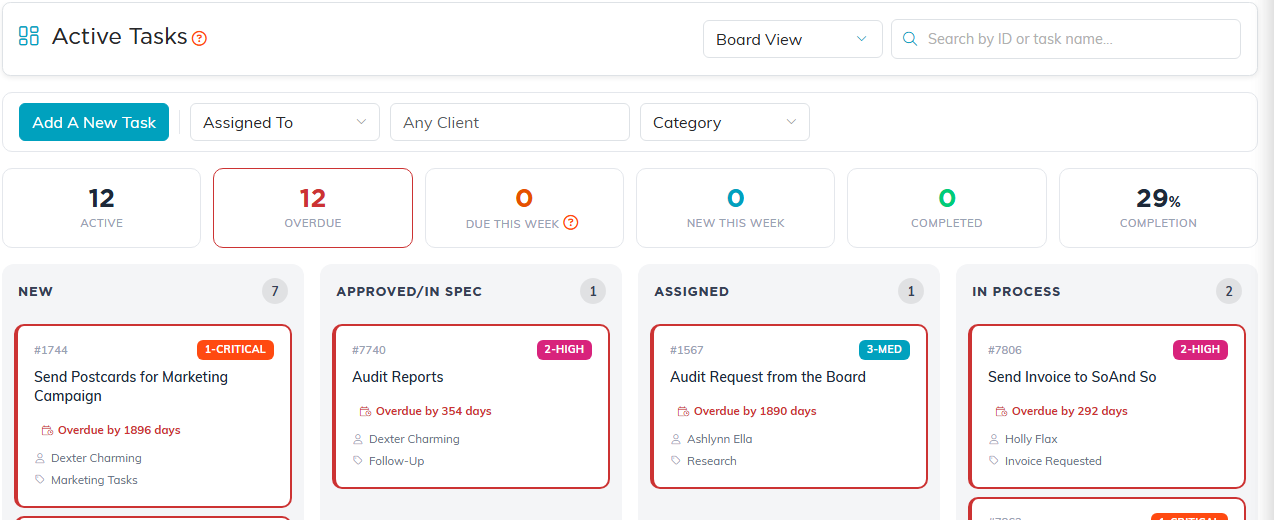
The board moves work through stages.
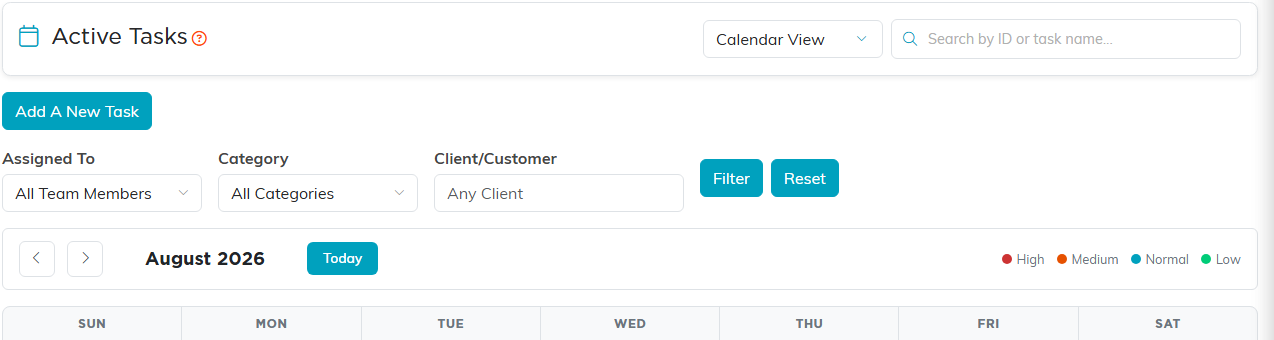
The calendar shows what is due when.
