Knowledge Base Article
Overview, Working With Mission Trip Payments
This article covers the Mission Trip Payment Workspace: how to find a payment, what's on it, how to edit it, and how deleting works. To add a new payment, see Add A Mission Trip Payment (payments are added from inside an enrollment).
Find and open a payment
From the left menu, go to Mission Trips > Mission Trip Payments for a list of every payment. Use the search box or the filters (account, contact, trip, enrollment, date range, amount, and more) to narrow it down, then click the green open icon to open the payment's details.

The search box and the filter bar sit above the payments.

The green icon opens the payment's details.
What's on the payment
The Payment Details page shows which Mission Trip and Account the payment applies to, along with the date it was posted and last changed, and by whom. You can also post the payment to the General Journal, where you choose a Fund, a Deposit or Checking account, and a Chart of Accounts account. You can remove it from the General Journal later if you need to.
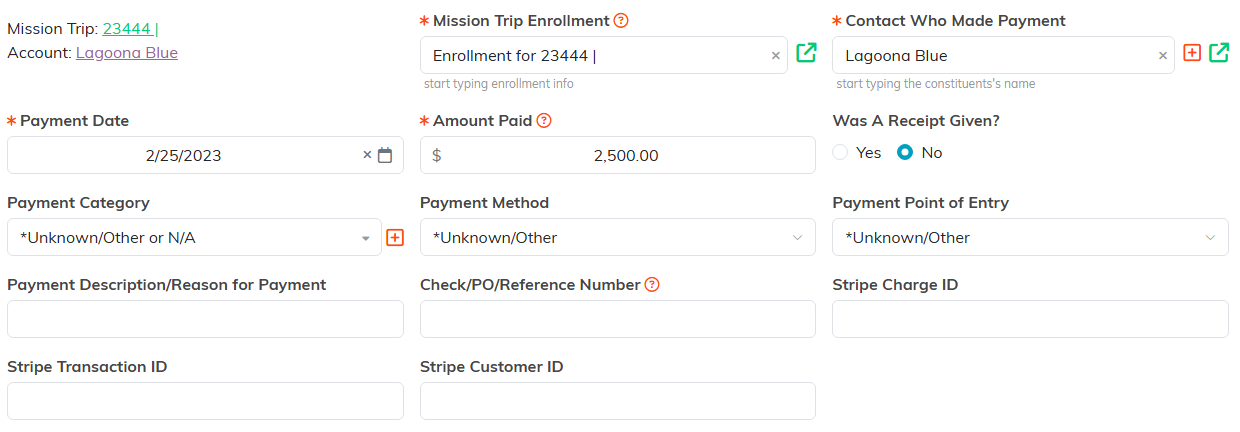
The trip and the account it applies to sit at the top left.
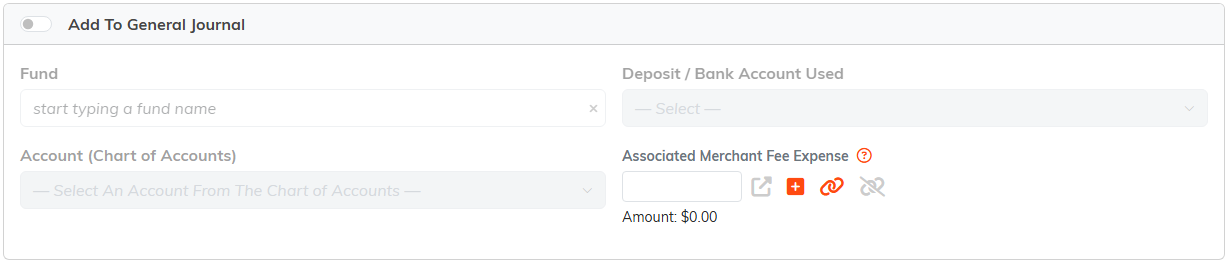
Turn the switch off again to take the payment back out of the general journal.
Edit a payment
Update the fields you need, then click Save All Changes & Continue or Save All Changes & Exit. Be careful editing payments that were processed by Stripe. Amount Paid cannot be changed to $0.00 or less. If the enrollment the payment belongs to is locked, the payment opens read-only, and only a Master Admin can change its amount or move it to another enrollment.

Save when you are done.
You can add files and notes to the payment from its Files and Notes tabs. For step-by-step help, see Add Related Files and Add A Note.
Delete a payment
You can delete a payment from the list (the delete icon on its row) or from its details page, and you'll be asked to confirm. Be very careful not to delete credit card payments that were processed by Stripe, and note that a payment already reconciled in the General Journal can't be deleted. Deletion is permanent and can't be undone.

The delete icon on the payment's row.
