Knowledge Base Article
Add A Chapter
Chapters let you group your team members, constituents, and other records so you can track and report on them together. Once a chapter exists, you can assign things like tasks, funds, events, donations, and expenses to it.
Get to your chapters
In the top right corner of the screen, click your organization's name (the button with the building icon) to open the Team menu, then choose Chapters. That opens the full list of chapters your organization has.
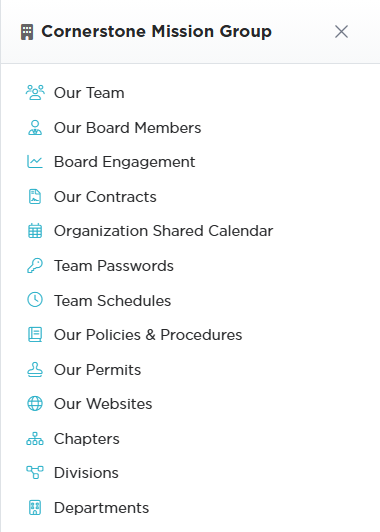
The Team menu opens from your organization's name in the top right.
Add a chapter
From the list, click Add A New Chapter. Argenta asks for the Chapter Name first, which is the only required field, then you click Add & Enter Details. The chapter is created and the Chapter Workspace opens, where the chapter leader, the associated fund and everything else are set. The workspace has four pages: Chapter Details, Chapter Files, Chapter Notes, and Record Permissions.
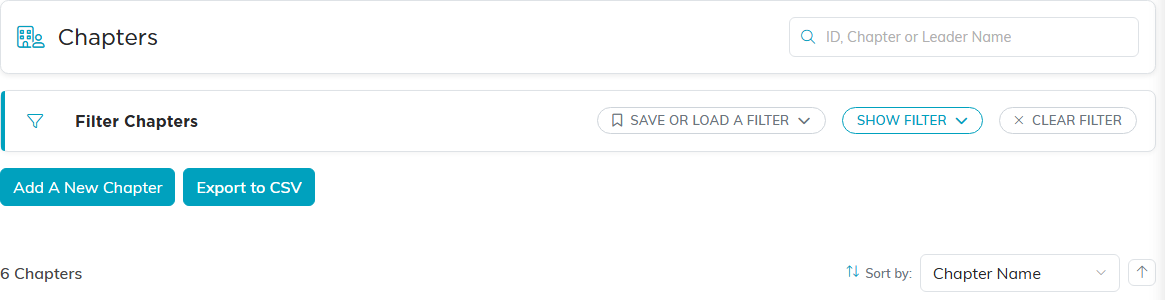
Add A New Chapter opens a short form asking for the Chapter Name.

Four pages, with Chapter Details open.
Chapter Details
- Chapter Name. The only required field. It has to be a name no other chapter on your team uses. Argenta compares names ignoring capitals and surrounding spaces, so Midtown and midtown count as the same name, and it refuses a duplicate when you save.
- Chapter Description. A short description, up to 150 characters.
- Chapter Leader (Team Member). Start typing a team member's name and select them. Leave it blank if the chapter has no leader.
- Associated Fund. If the chapter has a fund, start typing the fund name and select it.
- Physical Address, City, State, and Zip Code, if you want to record where the chapter is.
- Time Zone. Choose the chapter's time zone.
- Active. Leave this on for a chapter you are currently using.
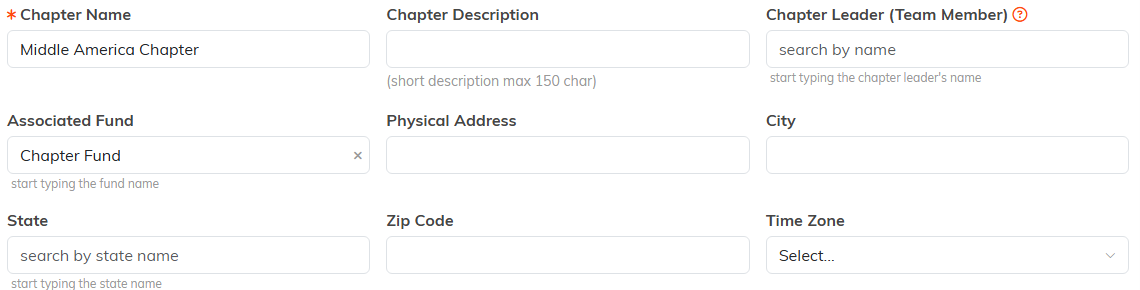
Chapter Name is the only required field. The rest are yours to fill in.
Two switches sit at the top of the page. Set As View Only restricts the record so it cannot be edited, and Lock This Record stops it being opened at all. In both cases the person who created the record, master admins, and anyone named on the Record Permissions page keep their access.

Active sits with the two permission switches at the top of the page.
When you are finished, click Save All Changes to save and keep editing, or Save All & Exit Record to save and return to your chapter list. Exit Record leaves without saving.

Exit Record leaves without saving.
Files and notes
- Chapter Files. Add as many files as you need, such as documents you want to keep with the chapter. Save the chapter first. See Add Related Files.
- Chapter Notes. Add as many notes as you need. See Add A Note to the Notes Section.
Record Permissions
This page controls who can view and edit the chapter, with a panel for each switch:
- View Only Access. When the chapter is set to view only, the people listed here can still edit it.
- Locked Record Access. When the chapter is locked, the people listed here can still open it.

One panel per switch. Each reads Disabled until the switch is on.
To grant someone permission, use the Add User box, start typing their name, select them, and click Add. To take someone back off either panel, click the pink remove icon next to their name.
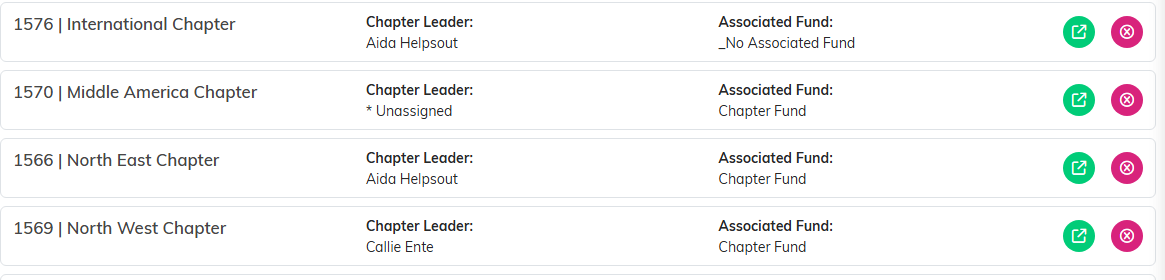
Green opens the chapter. Pink deletes it.
Chapters sit alongside divisions and departments as the three ways to group your organization. See Add A Division and Add A Department.
