Knowledge Base Article
Add Districts
Districts are the geographic divisions most states and countries use. Once a district exists in Argenta you can tag constituents, events, tasks, and other records with it, group your reporting by it, and use it to control which team members see which records.
Add a district
- Choose Voting & Elections > Districts from the main menu. That opens your organization's full list of districts.
- Click Add A New District. A short form opens asking for the District Name. Fill it in and click Add & Enter Details, and Argenta creates the district and opens it in the District Workspace. Cancel & Exit leaves nothing behind.
- On District Details, enter the District Name. It is the only required field, and it has to be a name no other district on your team uses. Argenta compares names ignoring capitals and surrounding spaces, and refuses a duplicate when you save.
- Set a District Leader if the district has one. Start typing a team member's name and pick them from the list. Leave it alone if nobody leads it yet.
- Click Save All Changes to keep working, or Save All & Exit Record to save and go back to the list. Exit Record leaves without saving.

Add A New District opens a short form asking for the District Name.

District Name is the only required field. The leader is optional.

Exit Record leaves without saving.
The District Workspace
The workspace has four pages:

Four pages, with District Details open.
- District Details, the name and leader above.
- District Files for anything you want to keep with the district, such as a map or a boundary document. Save the record first. See Add Related Files.
- District Notes for anything your team should know. See Add A Note to the Notes Section.
- Record Permissions, where you name the team members who can still edit or open the record if you have marked it view-only or locked.
Working with the list
Search the list by ID, district name, or leader name. Each row has a green icon to open the district and a pink one to delete it, and you can export the whole list to a spreadsheet.
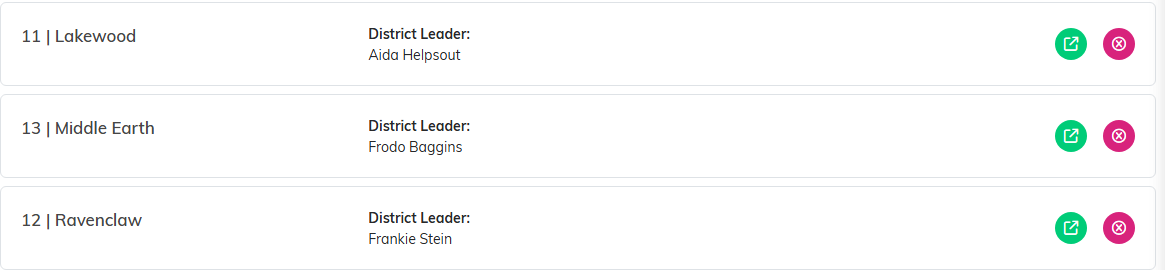
Green opens the district. Pink deletes it.
Districts pair with precincts. Everywhere in Argenta that offers both, you choose the district first, because it determines which precincts you can pick from.
