Knowledge Base Article
Add Invoices/Receivables
Argenta lets you create and track invoices (receivables). Every invoice is made out to one constituent, and you can bill anybody on your list: a client, a customer, a member, an organization.
To get started, select General Financials > Invoices/Receivables in the left sidebar. The Invoices list shows every invoice your organization has created. Click Add New and Argenta asks for three things first, all of them required: the Constituent (Who Is This Invoice For), the Invoice Date and the Due Date. Invoice Date defaults to today and Due Date to thirty days out. Click Add & Enter Details and the invoice is created, opening the Invoice Workspace where you finish it off. Cancel & Exit backs out without creating anything.
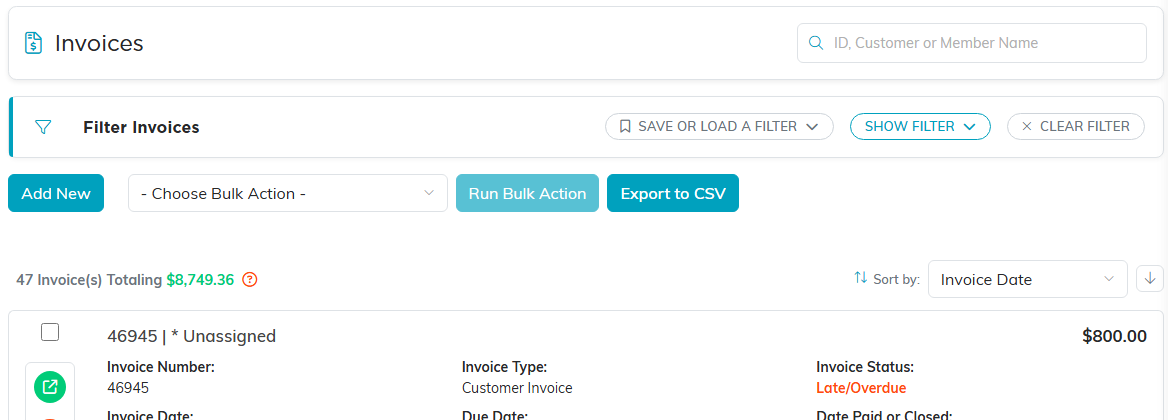
The Invoices and Receivables list.
The workspace has six tabs: Invoice Details, Connections, Invoice Payments, Invoice Files, Invoice Notes, and Record Permissions.

The six tabs in the Invoice Workspace.
1. Invoice Details
This is where you enter the invoice itself.
- Record Level Permissions – two switches, Set As View Only and Lock This Record. Either way, the record stays available to the creator, master admins, and anyone granted access on the Record Permissions tab. Deleting is the exception: while Lock This Record is on, even the creator is refused, and the message asks you to untick the switch and save before deleting, or to have a Master Admin do it.
- Invoice Type – pick the payment type this invoice is for, from the list your organization uses (Membership Payment, Sponsorship Payment, Event Registration and so on).
- Invoice For – start typing a name and pick the constituent the invoice is made out to (required). The orange plus icon beside it adds somebody who is not on your list yet, and the green arrow opens the record you picked.
- Invoice Status – set the current status from the dropdown (for example New/Pending, Sent/Outstanding, Late/Overdue, In Dispute, Paid/Closed, Unpaid/Closed, or Refunded/Closed). Argenta also moves this on for you overnight: an invoice still New/Pending or Sent/Outstanding turns Late/Overdue once its due date has properly passed, so one due today is left alone until tomorrow.
- Date Paid/Closed – the date the invoice was paid or closed.
- Invoice Date – defaults to today; change it if needed (required).
- Due Date – defaults to 30 days out; change it if needed (required).
- Invoice/PO/Ref Number – an optional reference number.
- Invoice Items – build the invoice with Add An Item (enter Invoice Item, Description, Invoice Price, and QTY) or Add A Product (pick a product already in your system and enter a quantity). Each item you add updates the invoice total. You can also enter fees, discounts, or taxes.
- Content Section – an optional message that prints at the bottom of the invoice (a thank-you, for example).
- Chapter / Division / Department (and District / Precinct for political teams) – tie the invoice to part of your organization.
- Is Invoice Recurring? – choose Yes for an invoice that repeats, then set the Recurrence Frequency. Turn on Auto Input Recurring Invoices? to have Argenta generate each future invoice on that schedule automatically. Review them under General Financials > Recurring Invoices.

Invoice Status, Invoice Type, and the lookup for who the invoice is for.

Invoice Date defaults to today, Due Date to thirty days out.
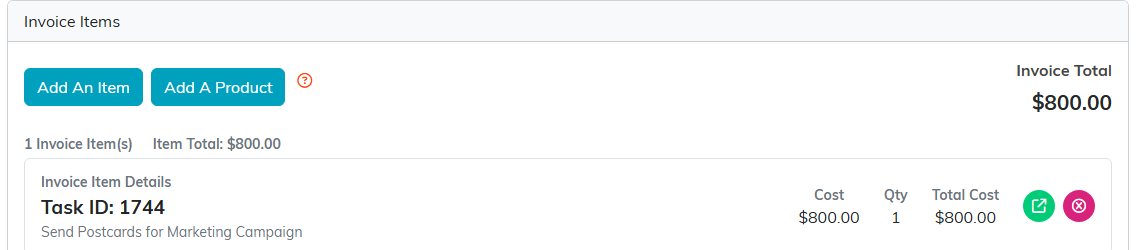
Invoice Items. Each item you add updates the Invoice Total.

The Content Section prints at the bottom of the invoice.

Recurrence Frequency stays at n slash a until Is Invoice Recurring is set to Yes.
Save with Save All Changes (save and keep working) or Save All & Exit Record.
2. Connections
Link the invoice to related records (a campaign, constituent group, auction, event, task, or program) using the lookups on this tab, then save.
3. Invoice Payments
Payments applied to this invoice show here. Click Add A Payment to record one. Enter the payment date, amount, type, and any check or reference number. If you want the payment posted to your books, turn on the option to add it to the General Journal and choose the Fund, the Deposit/Bank Account it was received into, and the Account to record it against. (Argenta uses double-entry, fund accounting; the *Undeposited Funds account is handy when you want to group several checks into one Deposits entry to reconcile later.)
Refunds are not handled on the invoice itself. They live under General Financials, and the full walkthrough is How To Manage Refunds in the Argenta General Financials Module.
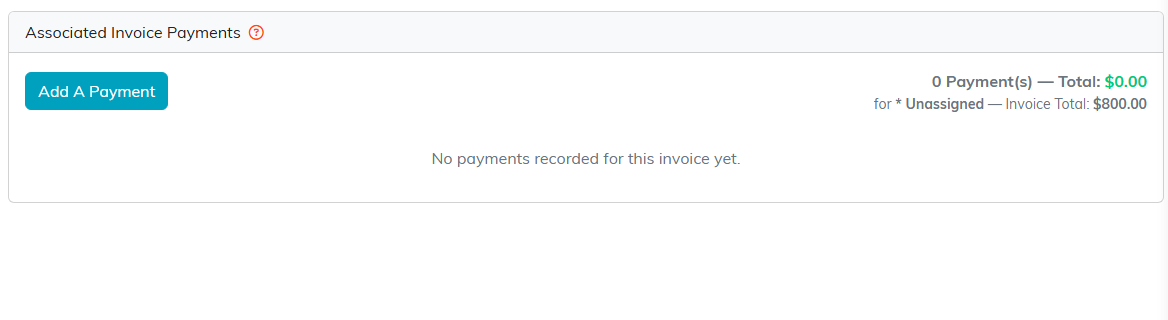
The Invoice Payments tab.
4. Invoice Files
Attach any related files to the invoice. Save the invoice first. See Add Related File.
5. Invoice Notes
Add notes to the invoice. See Add A Note To The Notes Section.
6. Record Permissions
This tab controls who can see and edit the invoice. View Only Access lists the users who can still edit when the record is set to view only. Locked Record Access lists the users who can view or edit when it is locked. In either panel, start typing a user's name in the Add User box, select it, and click Add. Master admins and the record's creator always keep access.
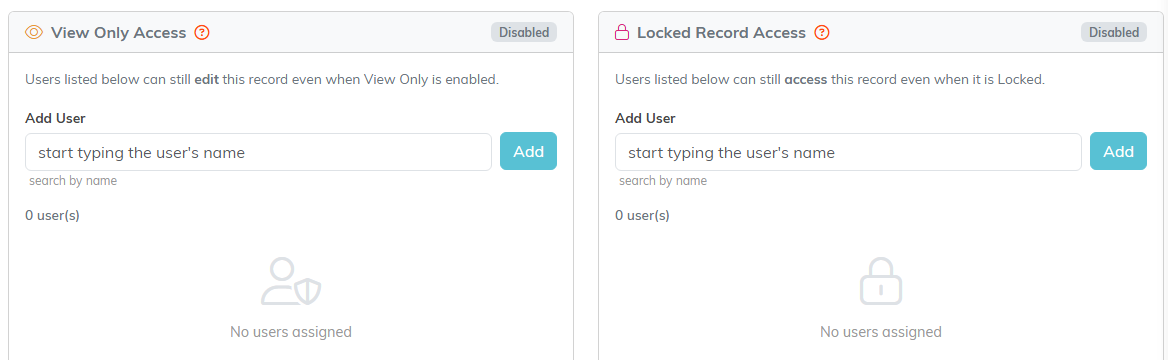
The two panels on Record Permissions, each with its own Add User box.
