Knowledge Base Article
Add Member Groups
A Member Group is a set of members organized together for a purpose, such as a committee, class, or team. This article walks through creating a group and adding members to it.
Create a member group
- Go to Membership > Member Groups and click Add A New Member Group. Argenta asks for the Group Name and an Active Date first, both required, then you click Add & Enter Details. The group is created and the Member Group Workspace opens on the Member Group Details page, where the category, the group leader, the budget and the members themselves are added.
- Fill in the details and save.
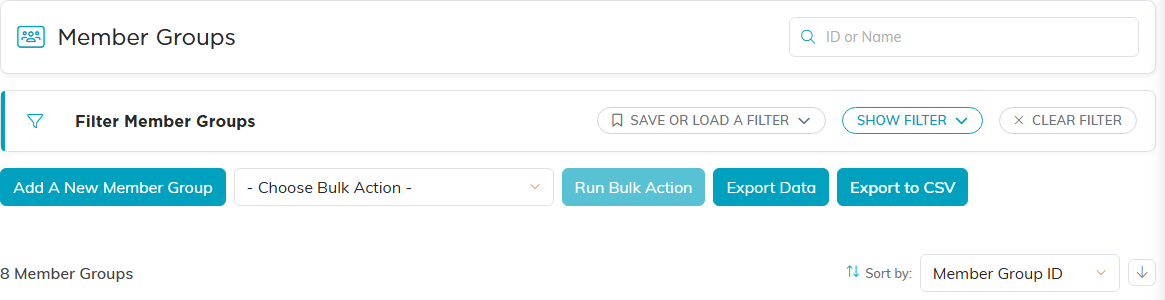
Add A New Member Group sits under the filter bar.
Member Group Details fields
- Record Level Permissions: the Set As View Only and Lock This Record switches.
- Active Date (required): type a date or use the date picker. It starts empty.
- Group Name (required).
- Group Status (required): Active or Inactive.
- Group Category (required): pick from the drop-down, or add a new one with the orange add icon.
- Group Age Level: an optional age level.
- Group Description.
- Group Leader/Team Member: the team member responsible for the group.
- Budget Amount and Budget Time Period/Term (Weekly, Bi-Weekly, Monthly, Quarterly, or Annually).
- Chapter, Division, Department (plus District, Precinct for political teams).
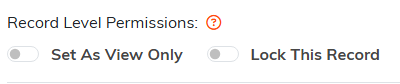
The two permission switches at the top of Member Group Details.
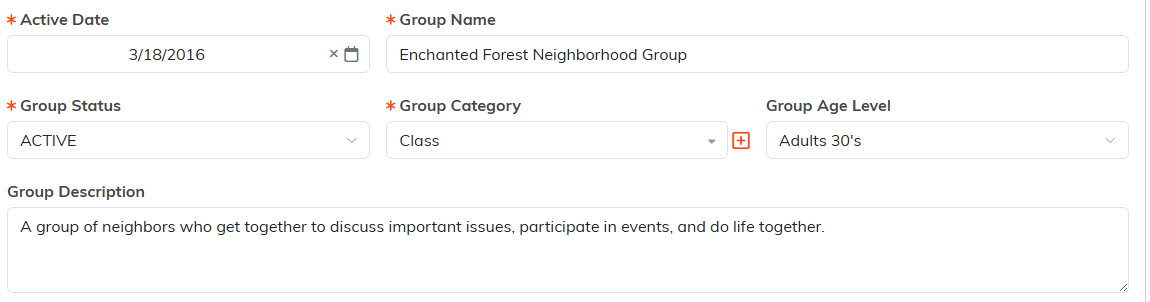
Four fields carry an orange asterisk, so they are the ones you have to fill in.

Budget Amount and its term let you track what the group costs to run.
Save with Save All Changes & Continue or Save All Changes & Exit. Creating a group, editing it and deleting it need the Member Manager permission or admin rights. Adding, editing and removing the people on the Members tab needs the same Member Manager permission; Master Builder is not required anywhere in member groups. A user set to view only cannot save. A group set to view only can be saved only by its creator, a master admin, or someone named in its Record Permissions, and a locked group does not open at all for anyone else.

The buttons at the foot of Member Group Details.
Add members to the group
- Open the Members tab and click Add New.
- In the Add A Member window, start typing to find the member and select them.
- Click Add Member. Repeat for each member you want in the group.
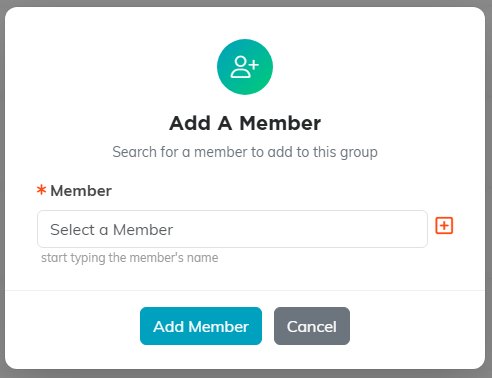
Pick the member, then click Add Member. The window stays open for the next one.
The Members tab lists everyone in the group with their Active Date, status, and group role. Use the Show filter (Active, Inactive, All), Export To CSV to download the roster, and the pink remove icon to take a member out of the group.
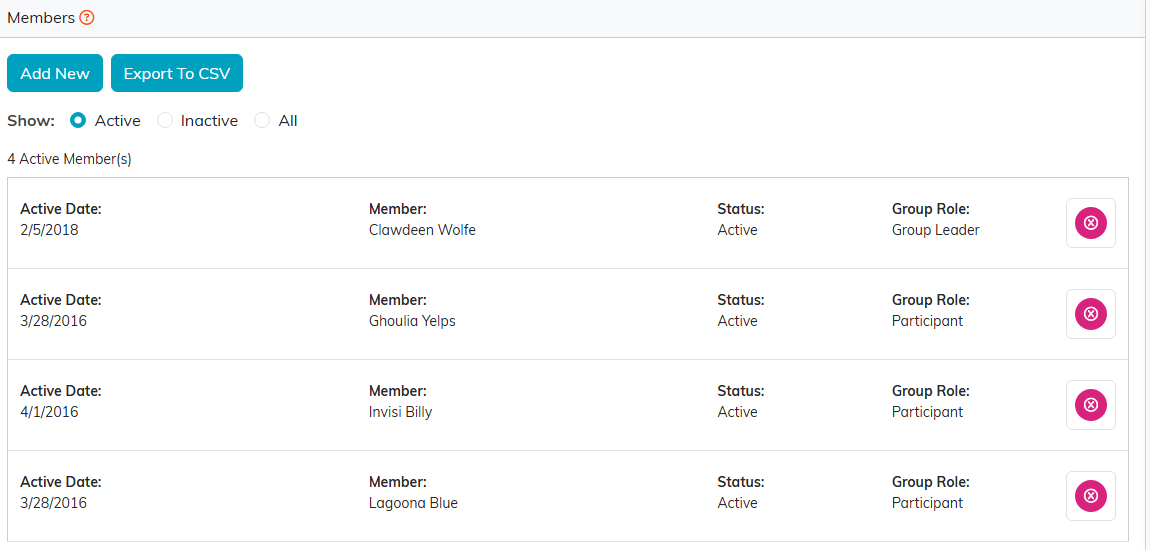
The pink icon on the right takes a member out of the group.
Files, notes, and permissions
The workspace also has Related Files (see Add Related Files), Notes (see Add A Note), and Record Permissions (name the users who can still edit a view-only group or open a locked one) tabs.

The workspace menu across the top of a member group.
