Knowledge Base Article
How to Create and Set Up Event Sessions
This covers making a session, setting it up, copying one you already have, and editing a whole list at once. For what sessions are and how the workspace fits together, see What Are Event Sessions and How They Work.
Creating One
Open Event Management > Event Sessions and click Add New. The Add New Session window asks for two things: the Session Name and the Event it belongs to. Everything else is set on the session afterwards.
Session names hold up to 150 characters.
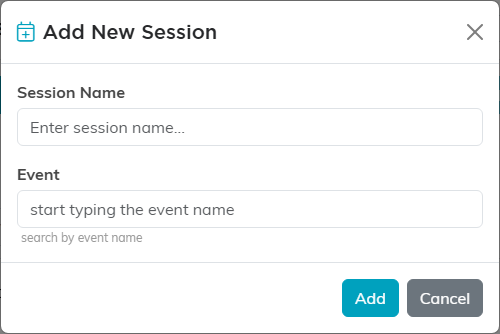
The window asks for the name and the event, and nothing else.
Setting It Up
On Session Details you set the date and time, the location, the facilitator or instructor, the type, category and status, and Max Number of Participants. Leave that last one blank or at zero for no limit.
Three switches control how the session behaves:
- Open/Public Event Session, which is what lets it appear on your public sign-up form.
- Session Must Be Purchased.
- Invoicing Is Permitted.
A session reaches the public form only when it is public and its status is Registration Open. See How the Public Session Sign-Up Form Works.
Copying a Session
Copy & Add New on a session's row makes new sessions carrying that one's settings: name, description, dates and times, status, type, category, season, instructor, team lead, contact details, location, participant limit, smallest and largest team size, special instructions, public form content, whether it is public, whether it is shared, and color.
It does not copy people or anything attached. Each copy arrives with no participants, no team members, no waitlist, no notes and no files, and it always starts uncancelled, unpaid and with no waiver on file.
The dates come across unchanged, so open each copy and set its real date and time before you use it.
Editing a Whole List at Once
You can type a start time, an end time and an instructor straight into the rows on the session list, then click Save All Sessions to save them in one press.
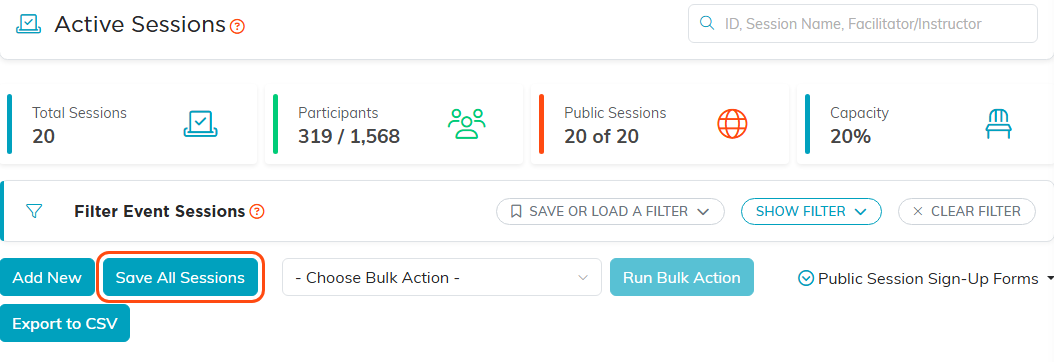
Each row carries its own start time, end time and instructor. Save All Sessions saves the whole page at once.
Three things to know:
- It covers only the page you are looking at. If your list runs onto a second page, save this one first, then move on.
- Naming an instructor on a row also adds that person to the session's staff, exactly as connecting them on the Session Team page would.
- If any row has a start time the same as or later than its end time, nothing saves and Argenta lists the rows to fix.
For bigger changes, tick the sessions you want and use the bulk actions:
- Change Session Date/Times for Selected Records, for a weather day or a room change.
- Change Primary Instructor/Facilitator and Change Lead Facilitator/Instructor.
- Move Selected Sessions to a Different Event.
- Set Selected Sessions To Open/Public and Set Selected Sessions To Closed/Private, which is how you open a whole track for booking on one day.
- Sync Selected Sessions with Team Calendars.
- Change Classification Code and Add A Note for Selected Records.
Worth Doing as You Go
- Build the sessions while they are closed, then set the whole track public at once. Sessions appearing one at a time confuses people who are already booking.
- Set Max Number of Participants before you make a session public. One with no limit will not turn anybody away.
- Give each session a color by track. On a conference calendar it is the quickest way to spot a clash.
- Use the session category consistently, because that is what groups a track in the reports.
- Put the facilitator on the session as you create it. It is the field people chase later.
- Check the waiting list before you cancel a session for low numbers.
