Knowledge Base Article
How to Verify Your Email Domain for Better Deliverability
Argenta sends your email through the Amazon Web Services email relay, and AWS will only send from an address it has confirmed you control. So before your organization's own address can appear in the From line, it has to be validated. You have two ways to do that, and one of them is better.
One exception: if your team has switched on Send Email Through My Own Twilio Account on the Email Settings page, your campaigns, automations and event email leave through Twilio instead, and their From address needs its domain authenticated in your Twilio Console. Receipts and notifications still go through Amazon, so everything below still applies to them.
Where To Find It
Click Settings (the gear at the top right) and choose Email Settings. That opens a group of three pages:
- Designated Email Addresses: which addresses Argenta uses for your outgoing mail.
- Email Address Verification: validate one address at a time.
- Dedicated Sending Domain Settings: authenticate your whole domain.
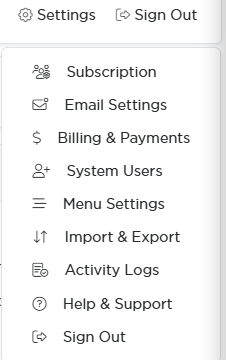
Settings in the top right, then Email Settings.
Option 1: Validate A Single Address
Quickest route, and enough for a lot of organizations.
- Open Email Address Verification.
- Type the address in Email Address To Validate.
- Click Validate.
- AWS sends a confirmation email to that address. Open it and click the link inside.
- The address then appears in your validated list and is ready to send from.
Your subscription includes four validated addresses. If you need more, additional blocks of up to 50 addresses are available for $25 per month.
Watch for two things: the confirmation goes to that mailbox, so someone has to be able to open it, and it can land in spam.
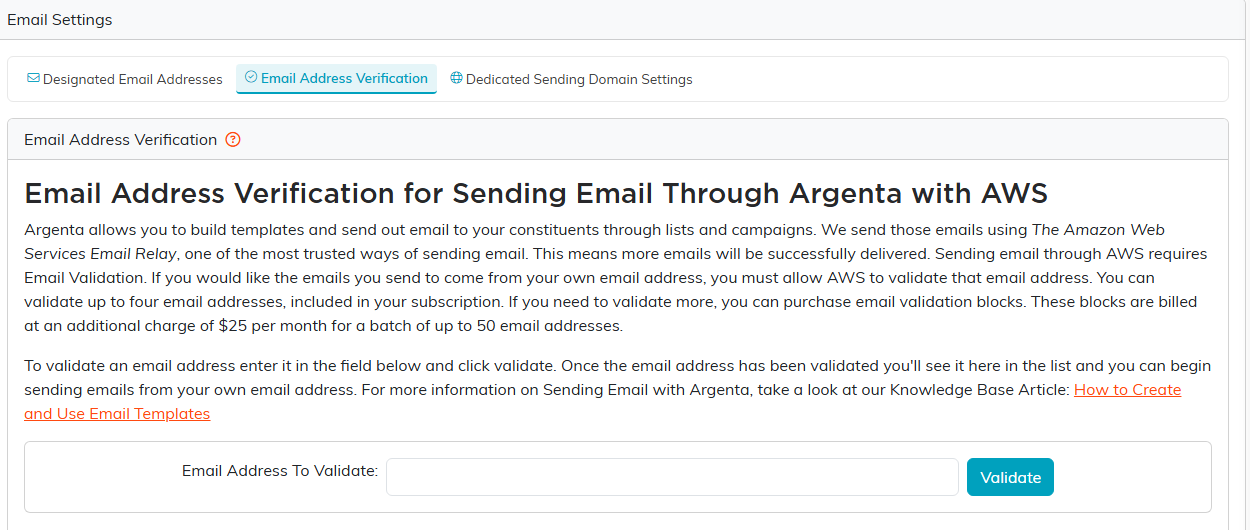
Validating one address, on the Email Address Verification tab.
Option 2: Set Up A Dedicated Sending Domain
This is the stronger option. Instead of validating addresses one by one, you authenticate the domain itself, and your email stops looking like it was sent by Argenta on your behalf and starts looking like it came straight from your organization. That is what really moves deliverability.
- Open Dedicated Sending Domain Settings.
- Enter your domain on its own, for example
mydomain.org. It has to be the bare domain your mail leaves from, not your website address.www.mydomain.orgis refused, and so is an email address or a full web address withhttpor slashes. Mail is signed for the domain itself, so a www address cannot sign for the domain beneath it. - Click Generate DNS Records.
- Argenta generates the DNS records for that domain and lists it under Your Sending Domains.
- Add those records at whoever manages your domain's DNS, then give them time to take effect.
- Nothing switches over until AWS has confirmed the records. Until then your email keeps going out from Argenta's own verified address, so it still sends; once AWS verifies the domain, Argenta checks every few minutes and starts sending from your domain on its own.
Use the View DNS Records icon on a saved domain to pull the records back up whenever you need them, for instance to hand them to your IT contact.
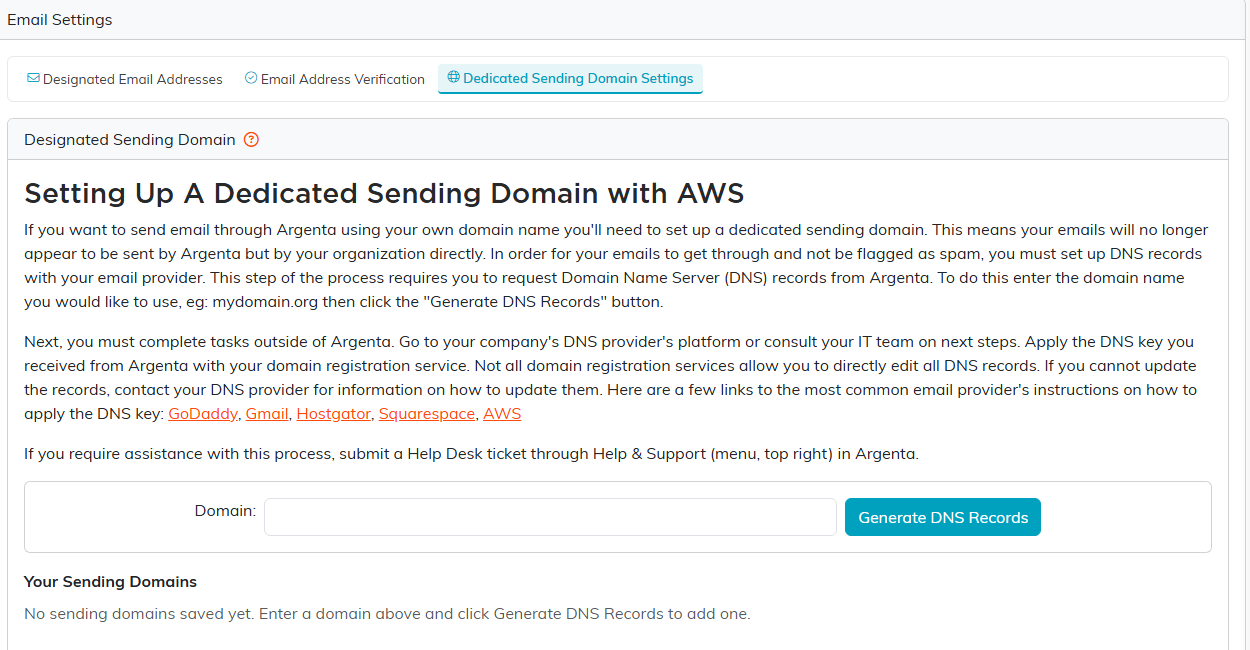
The sending domain tab, where Generate DNS Records gives you the records to apply.
The DNS Part
Adding the records happens outside Argenta, at your DNS provider. Copy each value exactly as shown, since a single stray character means the check fails.
The page links straight to the instructions for the common providers, GoDaddy, Gmail, Hostgator, Squarespace, and AWS. If your registrar does not let you edit these records yourself, ask their support to add them for you.
DNS changes are not instant. Give them time to propagate before assuming something went wrong.
If Email Still Is Not Arriving
- Recheck the DNS records character by character against what Argenta generated.
- Give the change more time to propagate.
- Check Communication > Email Queue for errors on the messages themselves.
- Check the recipient's constituent record for Do Not Email, and check whether they have unsubscribed. Both suppress mail regardless of your domain setup.
- Ask the recipient to look in their spam folder, and to mark you as safe if they find you there.
Need A Hand?
DNS is fiddly and it is a reasonable thing to ask for help with. Submit a ticket through Help Center at the top right, and say who manages your domain. That one detail saves a round trip.
