Knowledge Base Article
View and/or Update Material Donations
Once a material donation is in Argenta you can go back into it at any time to correct the details, record what actually came in, attach paperwork, and leave notes for the rest of your team.
Open the donation
- Choose Materials Management > Material Donations from the menu on the left. The full list of your organization's material donations loads.
- Search by donation ID or donor name, or filter and scroll to find the record you want.
- Select the donation and click the green open icon. That opens the Material Donation Workspace on Donation Details, with the donor's name and the donation date in the title bar.

Search by donation ID or donor name to find the record.
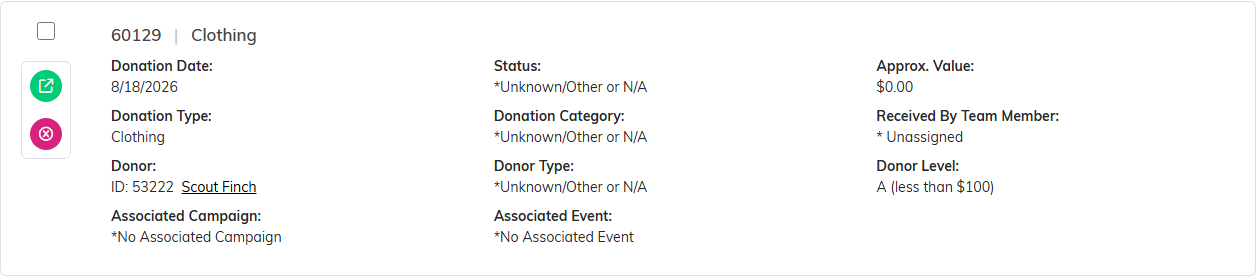
The green icon opens the donation workspace.
Update the details
On Donation Details you can change anything on the record: the Date of Donation and Donor (both required), the team member who received the gift, the status, type, and category, the description, the campaign or event it belongs to, and your organizational groupings. Turn on Receipt Given once the donor has their receipt.
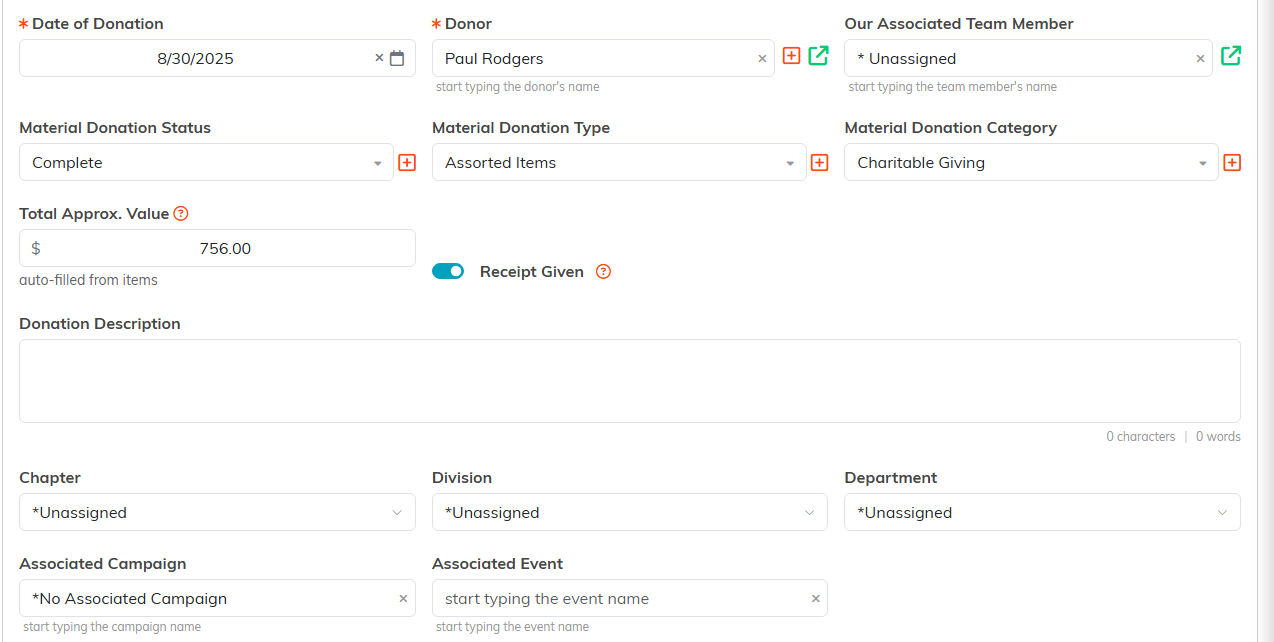
Everything on Donation Details can be corrected later.
Save with Save All Changes & Continue to stay on the record, or Save All Changes & Exit to save and go back to the list. Cancel & Exit leaves without saving.

Cancel & Exit leaves without saving.
Add or change the donated items
Open the Donation Items page. To add an item, find it in the list, type the number received in QTY Donated beside it, and save. That is the whole flow, and the page says as much on screen. Save one line with its save icon, or use Save All Changes to save the whole list at once. To take an item off the donation, set its quantity to 0 and save.
Remember that these quantities are your inventory. Entering a quantity adds that stock to the item's on-hand count, and lowering or clearing it takes the stock back out. If a change would push an item below zero on hand, Argenta shows Not Enough Inventory and skips that one line, saving everything else. The donation's Total Approx. Value is recalculated from the items each time you save, which is why you do not type it yourself.
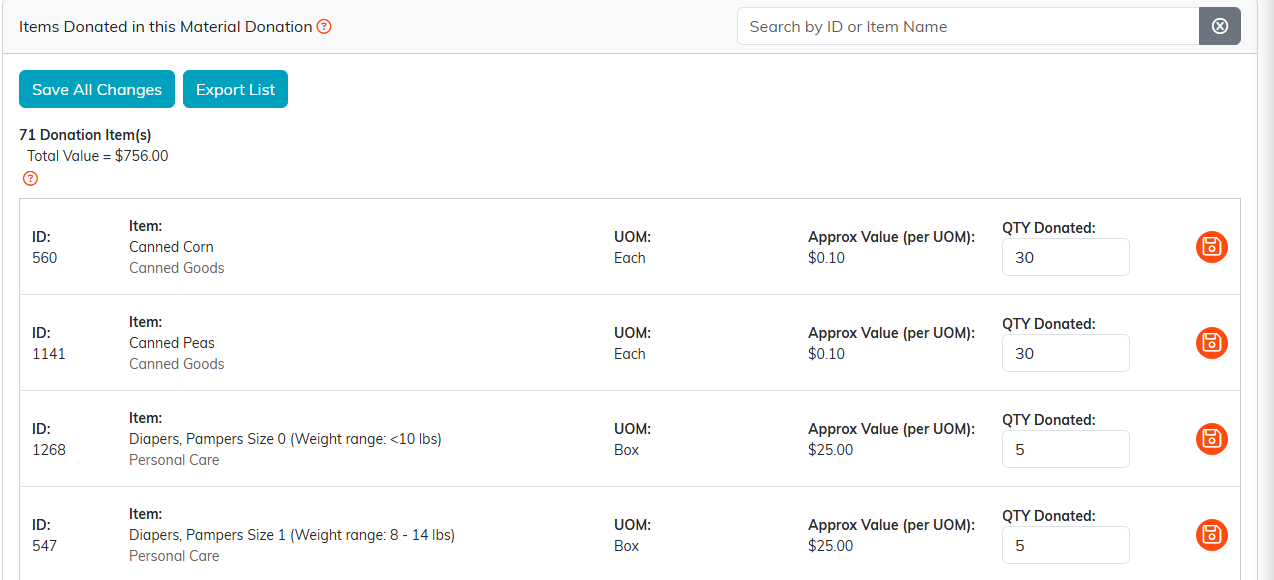
Set a quantity to 0 to take that item off the donation.
The rest of the workspace
- Donation Files for scanned receipts, photos, or donor paperwork.
- Donation Notes for anything your team should know about the gift.
- Record Permissions to control who can see or change this particular record.

The other pages of the workspace.
Donation Details also carries the Send Donor The Confirmation Email button. Nothing is sent to the donor when you save, so use that button when you are ready for them to get their itemized confirmation.

The donor hears nothing until you use this button.
Delete a donation
Use Delete This Record at the bottom of Donation Details, or the delete icon in the workspace title bar, and confirm. This cannot be undone. A locked donation will not delete from either place, because the workspace runs the same check the list does. Untick Lock This Record in the workspace and save, then delete. A Master Admin can delete a locked donation without unlocking it.

The delete icon in the title bar does the same job as Delete This Record.
For an overview of the whole area, see Overview, Working with Material Donations. To create a donation from scratch, see Add Material Donations.
