Knowledge Base Article
How to Group an Event's Guests
Participant/Guest Groups sort an event's guests into named sets, such as sponsors, VIPs, volunteers, a family or a bus. A group is a label you can pull lists and exports from. Putting someone in a group does not change their registration, their RSVP or where they are seated.
Open the groups
Open the event and click Participant/Guest Groups in the Participants/Guests group of the workspace menu. Each group shows its name and description.
The Participant/Guest Groups page has a short Show Me How To Use This Page video at the top right; click it to watch, and use its chapters to jump to the part you need.
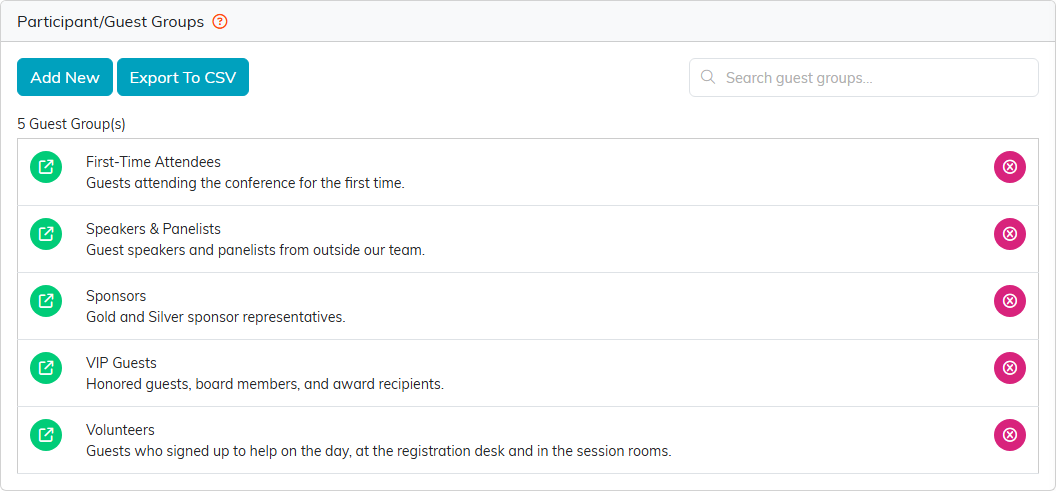
Five groups for a conference: sponsors, VIPs, speakers, volunteers and first-timers.
Create a group
- Click Add New.
- Enter the group's name and click Add & Enter Details. Cancel & Exit leaves without adding one.
- On the group's details, add a Group Description and click Save All Changes.
The description shows under the group's name on the list, and the search box looks through descriptions as well as names.
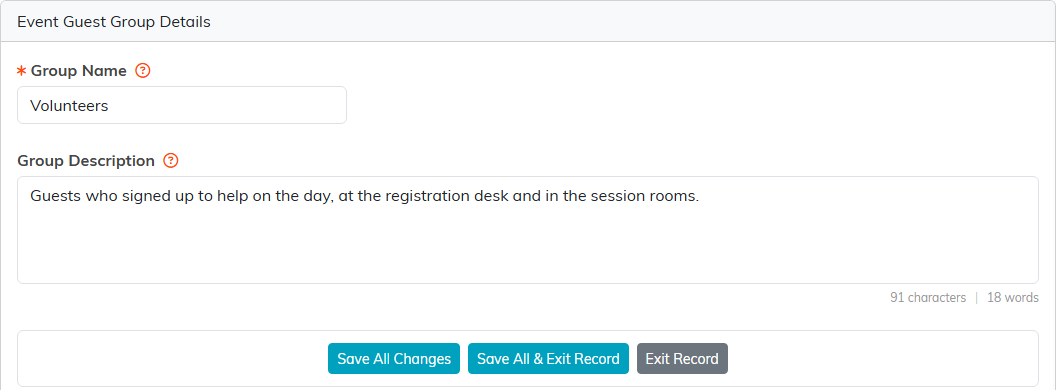
A description makes the group's purpose clear at a glance.
Add guests to a group
- Open the group and click Guests In This Group.
- Click Add New.
- In Select A Guest, start typing a name and pick it. Only guests already on this event come up.
- Click Add To Group.

Pick a guest who is already on the event.
A guest can belong to several groups at once, so the same person can be both a sponsor and a first-time attendee. If they are already in this group, Argenta tells you instead of adding them twice. Export To CSV downloads the group's guests.
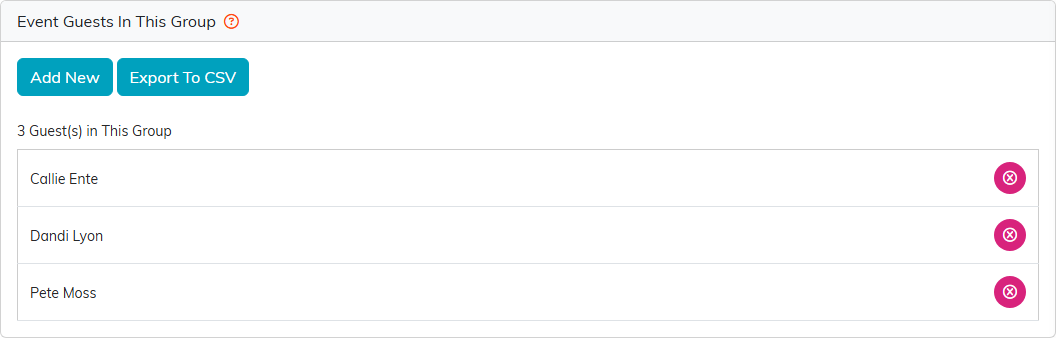
The sponsors group, ready to export for a thank-you list.
Remove a guest or a group
The pink icon on a guest takes them out of that group only; their guest record stays as it was. Deleting a whole group removes the group, its notes and its files, never the guests.
For the full guest list, see How to Track Event Attendance.
