Knowledge Base Article
How to Organize Documents by Category
Categories are what keep the Document Library usable once it holds more than a handful of files. They group related documents, make searching quicker, and let you filter the list down to just the kind of document you are after.
Assign a category
- Open the document, or start a new one with Add A New Document.
- On Document Details, find Document Category.
- Choose one from the list. If the one you want does not exist yet, use the add icon on the field to create it without leaving the page.
- Click Save Changes & Exit.
Document categories are classification codes, which means they are yours rather than ours. You can also manage the whole list from Classification Codes in the main menu.
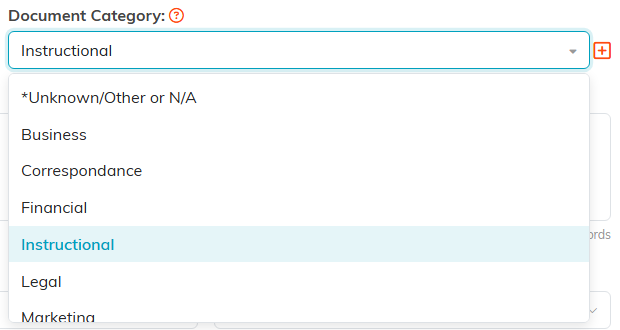
Pick a category from the list. The plus icon adds a new one without leaving the page.
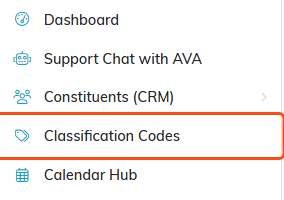
Classification Codes in the main menu is where you manage the whole list.
Filter by category
On the Document Library list, open the filter panel and pick a category to narrow the list. You can combine that with chapter, division, department, and a date posted range, then export what is left.
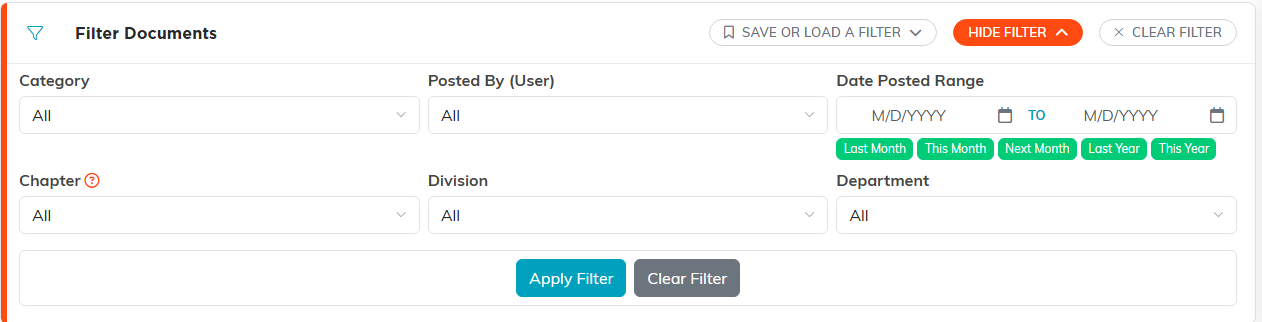
Category is the first filter on the list, and it combines with the rest.
Making categories that work
- Keep the list short. A dozen well-chosen categories beat forty that nobody can choose between.
- Name them for how people look, not how you file. "Grant Templates" is easier to pick than "Development 2024".
- Agree them once, as a team. Categories only work if everybody uses the same ones, and the add icon on the field makes it very easy for five people to invent five near-identical categories.
Beyond categories, Chapter, Division, and Department give you a second way to divide the library up, and they control who sees what rather than just how it is sorted.
See also Add Documents in the Document Library.
