Knowledge Base Article
How to Manage Project Tasks
Tasks are how a project actually moves. They also drive the progress meter, so a project with no tasks has no progress to show.
Add a task
- Open the project and go to Project Tasks in the workspace navigation. The list is headed Project Task List.
- Click Add Task.
- Fill in the task:
- Task Title and Description.
- Hours, the time spent on the task. These add up to the project's Actual Work Hours.
- Assignee, the person doing it.
- Due Date.
- Sprint, if you are planning the project in sprints.
- Save the task. It appears in the list straight away.
Tasks here are deliberately simple. They carry no separate status or priority of their own, because a task is either done or it is not.
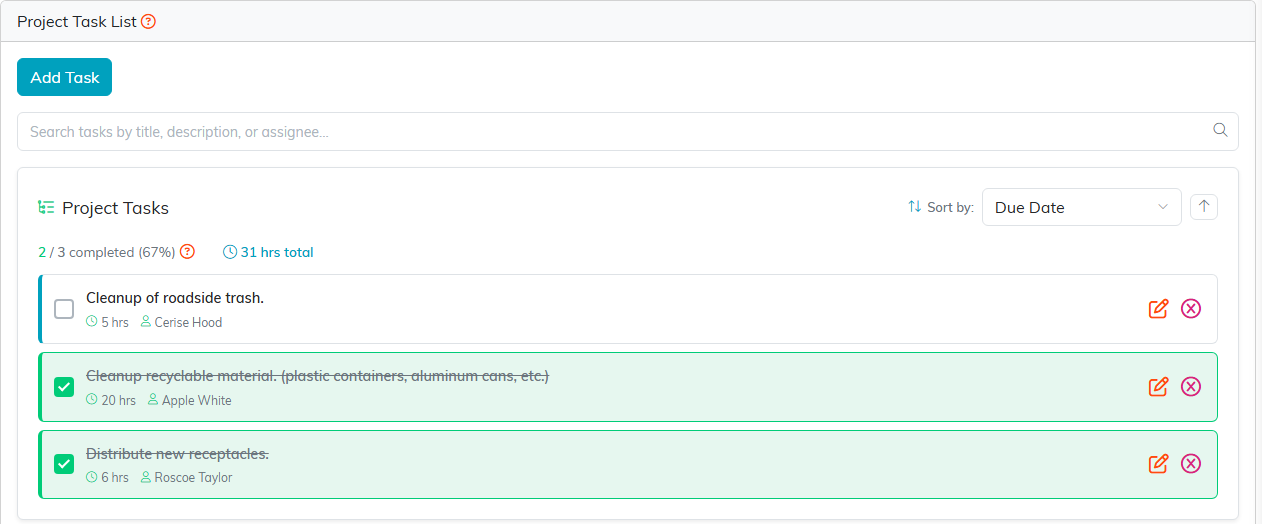
The Project Task List. Add Task sits at the top left.
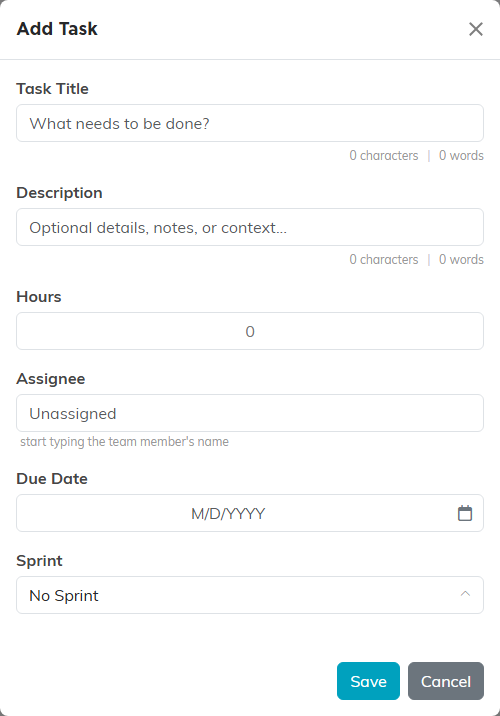
The Add Task box. Only the title is really needed to get started.
Work the list
- Tick the checkbox beside a task to complete it. Tick it again to reopen it. Completing a task records today as its completion date, which the Project Task Report shows under Date Completed and its Date Completed filter searches; reopening it clears that date.
- The counter above the list reads "X / Y completed" with the percentage, so you can see where the project stands without leaving the page.
- A task past its due date and not yet complete is flagged as overdue.
- Open a task to edit it, or remove one you no longer need.

The counter sits above the list. Ticking the checkbox on a row completes that task.
How tasks feed the project
Two things on Project Details come straight from this list and are calculated for you:
- Project Progress is the share of tasks marked complete, shown as a percentage with "X of Y tasks complete" underneath. Ticking a task moves it. You never type this number in.
- Actual Work Hours adds up the Hours on every one of the project's tasks, finished or not. Projected Work Hours, beside it, is your estimate for comparison.
Because the meter counts tasks and not effort, ten small tasks and ten large ones move it by the same amount. Break the work into pieces of roughly similar size and the percentage stays honest.

Project Progress on Project Details, calculated from the task list.

Actual Work Hours is added up for you. Projected Work Hours is the one you type.
Bringing in a task you already have
If a standalone task turns out to belong to a project, open that task and choose Convert Task To A Project Task, then pick the project. It moves in as one of that project's tasks.
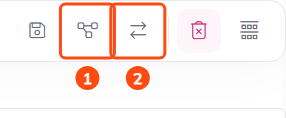
Icon 2 in the task's title bar moves the task into a project you already have.
