Knowledge Base Article
How to Manage Program Files and Documents
The Program Files tab keeps documents with the program they belong to, so curricula, agreements, photos and reports are found where the program is rather than on somebody's desktop.
Uploading Files
- Open the program from Programs > Program List
- Choose the Program Files tab
- Drag files onto Drag & Drop Files Here, or click the drop zone to browse
- Check the selected files listed underneath
- Click Save The Selected File(s)
You can select several files at once, and a progress bar runs while they upload. Files are only stored once you click save, so selecting them is not the same as uploading them.
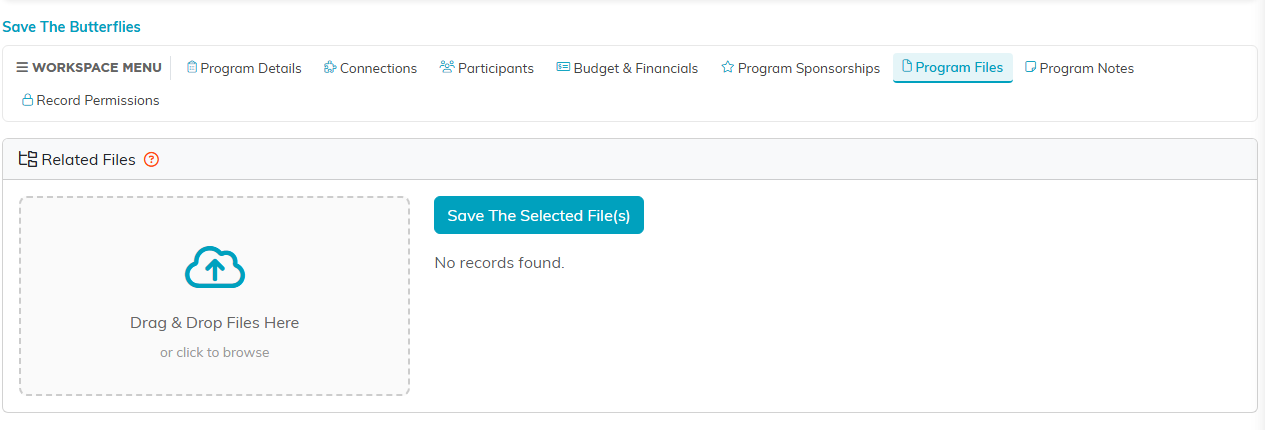
The drop zone on the left, the save button on the right, and the stored files listed beneath it.
Working With Stored Files
Saved files appear in the Related Files list on the same tab, where they can be opened or deleted.
When the Upload Area Is Missing
If the drop zone is not showing, the program record is set to View Only or Locked. The stored files are still listed and can still be opened. Someone with permission to change the record can clear the setting on the Program Details tab.
Best Practices
- Give files meaningful names before uploading, since the file name is what everyone sees
- Keep documents on the program rather than emailing copies around
- Lock a program once it is finished, so its files stay as they were
