Knowledge Base Article
How to Set Up Event Registration Forms
Each event has its own public registration form, designed from the event record. The team-wide starting point that new event forms inherit is set separately, under Event Management > Public Event Form, and only a Master Admin can change it.
Opening the Designer
- Go to Event Management > Event List
- Open the event
- Click Public Form Design in the event's tab strip

Notifications
Choose who hears about a registration as it comes in:
- Send Notifications To Event Contact
- Send Notifications To Event Coordinator
- Send Notifications To Main Administrator
Each switch needs an address saved in the place it looks. The Event Contact uses your Email Address for Event Notifications on the Email Settings page, the Event Coordinator uses the Email address on this event's Contact and Location page, and the Main Administrator uses your organization's Primary Email Address. If the one it looks for is blank, no copy goes out and Argenta won't warn you.
Those three switches cover your own team. The person who registers is emailed separately from them: they receive their own confirmation, subject Thank You for Your Registration, when they reach the confirmation step at the end of the form. A registration somebody starts and abandons before that step does not send one.

Choose Form Colors
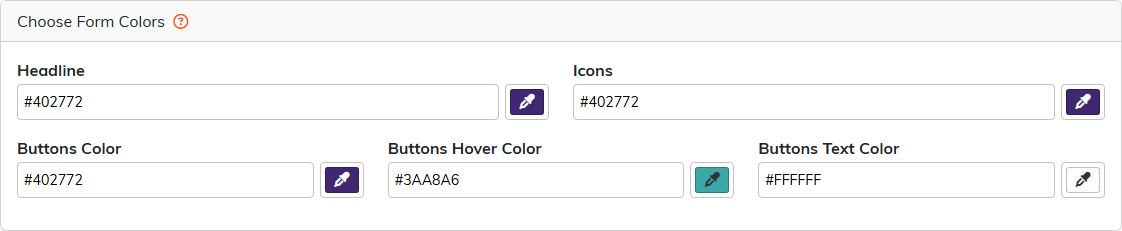
This card sets five colors: Headline and Icons, then Buttons Color, Buttons Hover Color and Buttons Text Color.
Default Form Fields
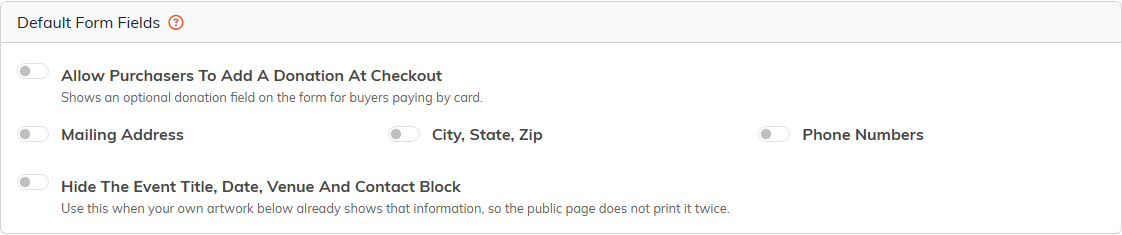
Mailing Address, City, State, Zip and Phone Numbers are on every event form.
One more switch sits above those three, and which one you get depends on whether the event is selling tickets:
- Selling tickets: Allow Purchasers To Add A Donation At Checkout puts an optional donation field on the form for buyers paying by card
- Not selling tickets: Allow Invited Guests lets a registrant bring named guests
You never see both at once. If you are hunting for one of them and it is not there, check the We're Selling Tickets! switch at the top of the event.
Below those three, Hide The Event Title, Date, Venue And Contact Block stops the public page printing the event title, date, venue and contact details above your description. Turn it on when your own artwork already shows them.

Event Description/Form Content
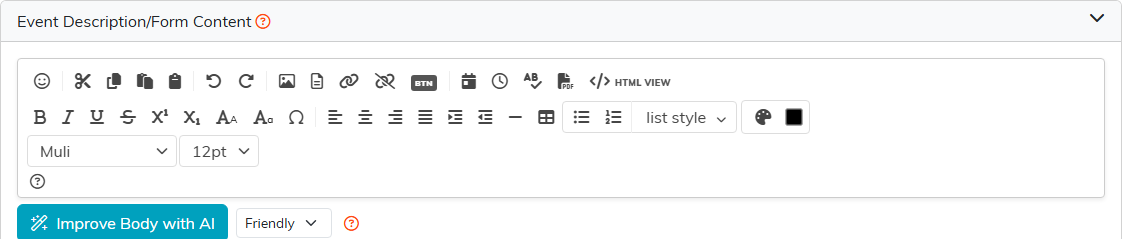
This card holds the wording registrants read on the form. Improve Body with AI rewrites what you have typed, and the list beside it sets the tone. Click the card header to fold the card away while you work on the rest of the page.
Saving and Leaving
Preview opens the form as a registrant sees it.
- Save All Changes keeps your changes and leaves you on the page
- Save All & Exit Record keeps them and closes the event
- Exit Workspace at the top and Exit Record at the foot both leave without saving


Sharing the Form
The Share The Public Event Form card holds the event's Public Link with a Copy button, plus a QR code available as Download PNG or Download SVG for printed invitations and signage. The card also counts how many times the link has been opened.
You can turn that link off. When it is off, everyone using it stops getting through, and that includes anyone scanning a QR code you have already printed.
Best Practices
- Turn on the donation at checkout for fundraising events. People who are already paying often give more
- Only ask for a mailing address if you are actually going to mail something
- Preview before you send the link anywhere, and open registration well before the event
- Scan the QR code yourself before it goes to a printer
