Knowledge Base Article
How to Create Email Signup Forms
The Public Email Form is how people sign themselves up to hear from you. It is the one public form in Argenta that can be embedded directly into your own website.
Opening the Designer
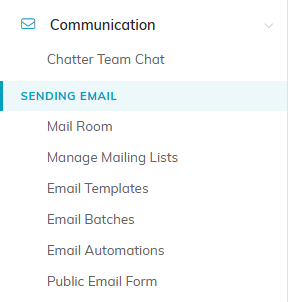
Go to Communication > Public Email Form, then open its design page. It is also listed under Our Public Interfaces.
The designer opens on a WORKSPACE MENU holding four sections: Form Content, Choose Form Colors, Form Banner Image and Share This Form. Click a section to open it. Only one section is on screen at a time.

Form Content
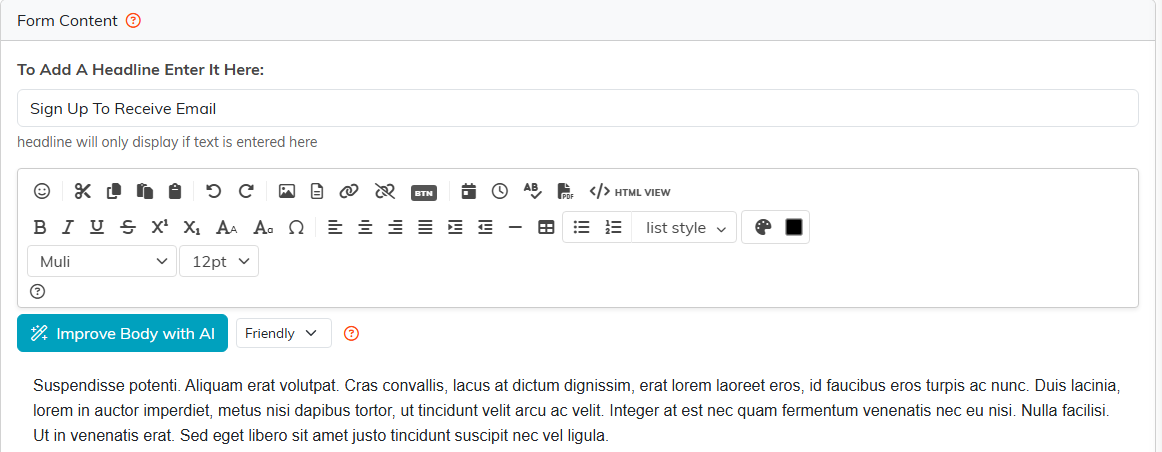
Use To Add A Headline Enter It Here to set the wording at the top of the form. Leave it empty and the form shows no headline at all.
Under the headline is the body editor, where you write what the form says beneath that heading. Improve Body with AI rewrites what you have typed, and the list beside it sets the tone of the rewrite.
Choose Form Colors
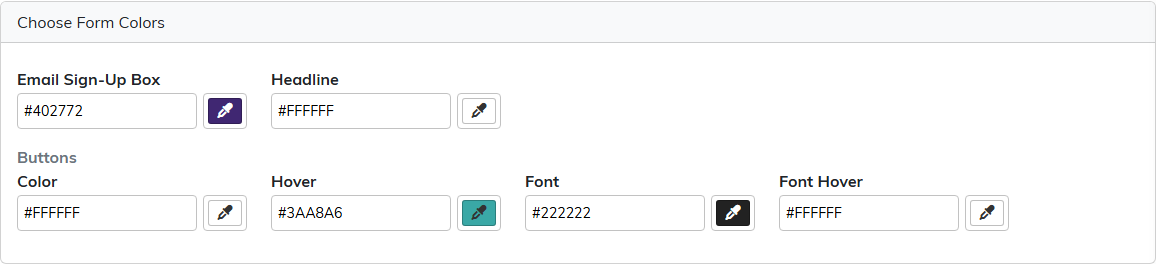
This section sets six colors. Email Sign-Up Box and Headline cover the form itself. Under Buttons, Color and Hover set the button background, and Font and Font Hover set the writing on it.
Form Banner Image
Turn on Display Hero Image to run a banner picture across the top of the form, then choose the picture from the files below the switch. Upload adds a new one.

Sharing and Embedding
The Share This Form section gives you three things:
- Your Website Address(es): enter the site or sites the form is allowed to be embedded on
- Public Email Form: the form's own address, ready to copy
- Embed Email Opt-In Control on Your Website: the snippet to paste into your site
Fill in your website address before using the embed snippet. That setting is what allows your site to host the form.

Checking It
- Click Save & Preview to save your edits to the live form and see what a visitor sees. On a view-only account it reads plain Preview
- Click Save Settings to keep the changes and carry on working
- Click Save & Exit to keep the changes and close the designer
- Exit leaves without saving

The same actions sit as icons at the top right of the designer. The disk saves, the eye saves and previews, and the arrow exits.
Best Practices
- Keep it to the fewest fields you can live with. A sign-up form is not the place to qualify people
- Put the embedded form where visitors already are, rather than on a page they have to find
- Load your own site after embedding and check the form appears and submits
