Knowledge Base Article
How to Set Up and Use Notebooks
Notebooks are a place to keep notes that do not belong to any one record: meeting notes, process documentation, project planning, research, personal reminders.
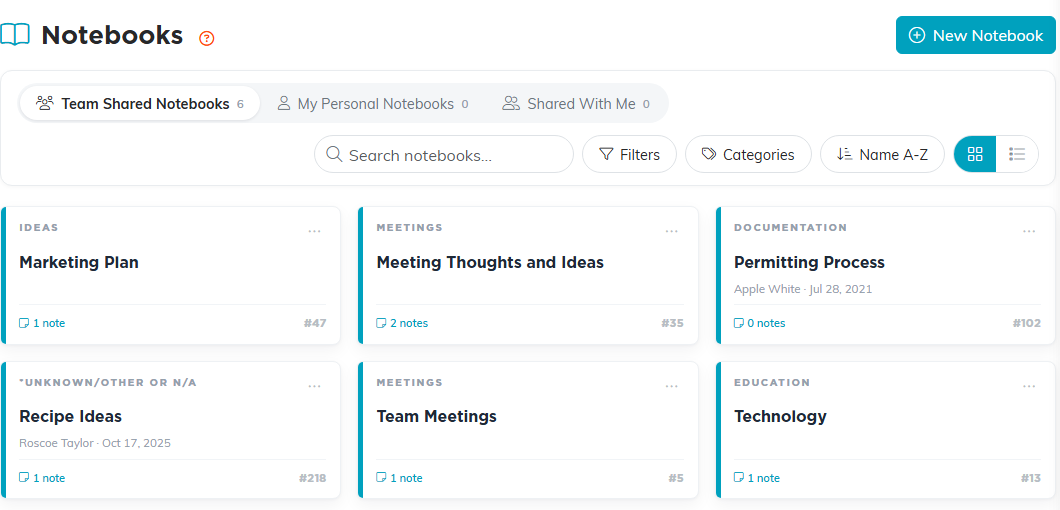
- Choose Workflow & Productivity > Notebooks from the main menu.
- Pick the shelf first: Team Shared Notebooks, which everyone on the team can see, or My Personal Notebooks, which only you can see. Shared With Me lists other people's notebooks shared with you. Then click New Notebook.
- Enter the Notebook Name, the only required field, and click Add & Enter Details.
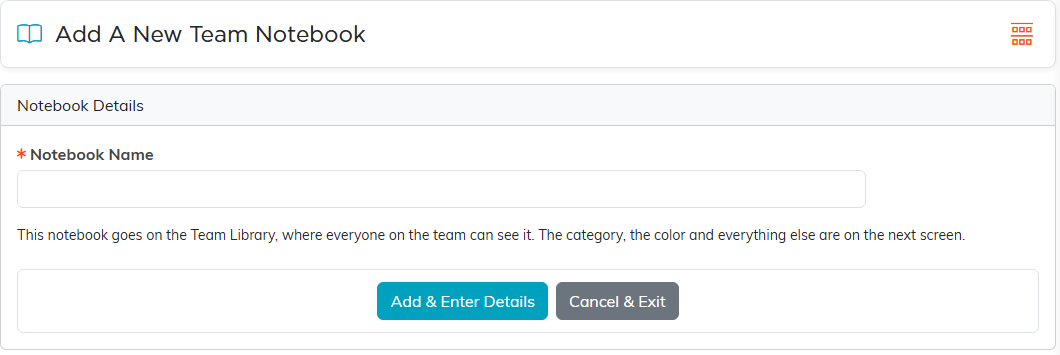
- On Notebook Details, pick a Category and a Notebook Color if you want to.
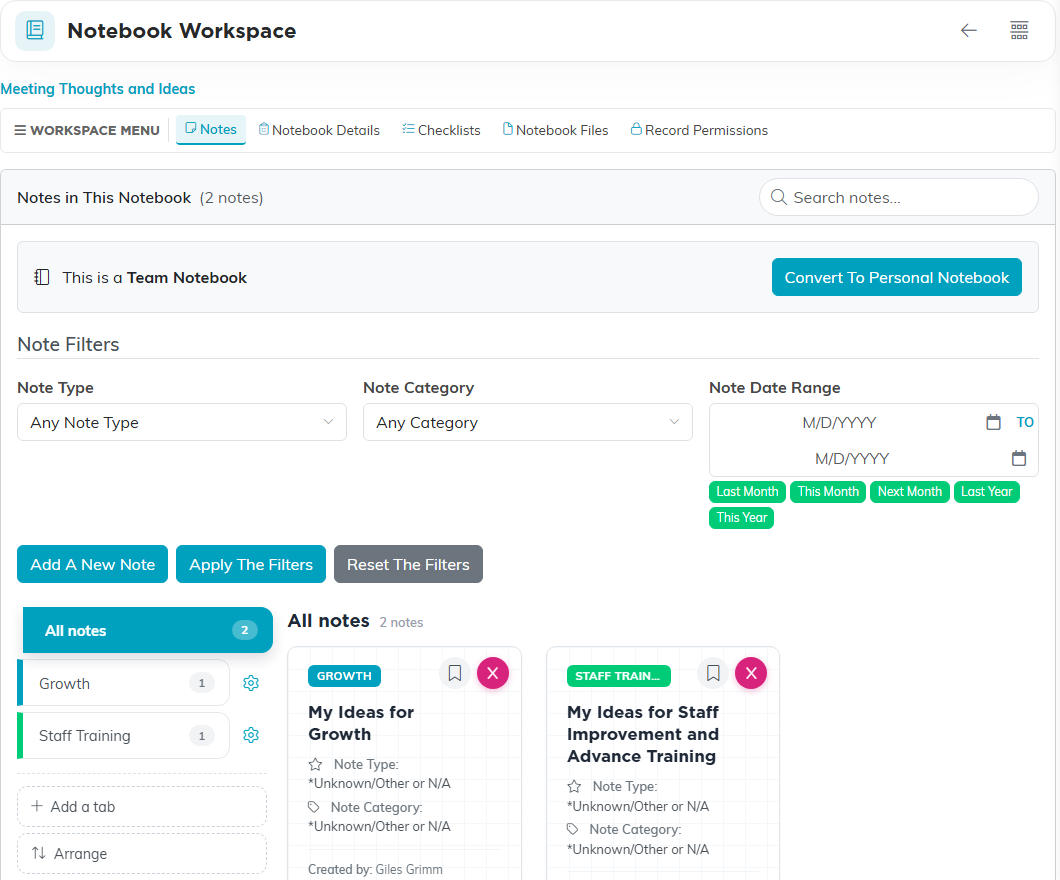
- Go to Notes, click Add A New Note, give it a Note Title, write it and save.
Great for:
- Standard operating procedures
- Training documentation
- Policy manuals
- Project documentation
- Meeting notes
What a notebook holds:
- Notes written in a full editor, each with its own type and category
- Files attached to a note, and files attached to the notebook itself
- Checklists, for turning notes into things somebody has to do
- Search and filters across the notes in a notebook
- Record Permissions, for naming who keeps access to a locked or view-only notebook