Knowledge Base Article
How to Create an Event
Adding an event takes three fields. Everything else is set on the next screen.
- Go to Event Management > Event List and click Add A New Event, then confirm.
- Enter the Event Title (up to 140 characters), the Event Start Date and the Event Start Time.
- Click Add & Enter Details. The event is created and opens in its workspace.
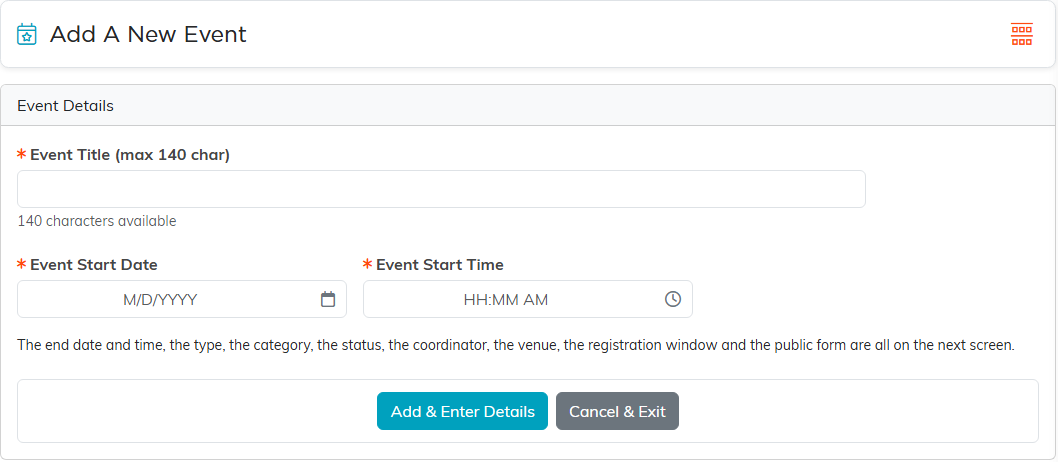
The end date and time, the type, the category, the status, the coordinator, the venue, the registration window and the public form are all set in the event's workspace once it exists. Ticket types and the public registration page are set up there too.