Knowledge Base Article
How to Set Up Email Settings
Before sending emails from Argenta, set up your email settings:
- Open Settings > Email Settings (the Settings menu at the top right).
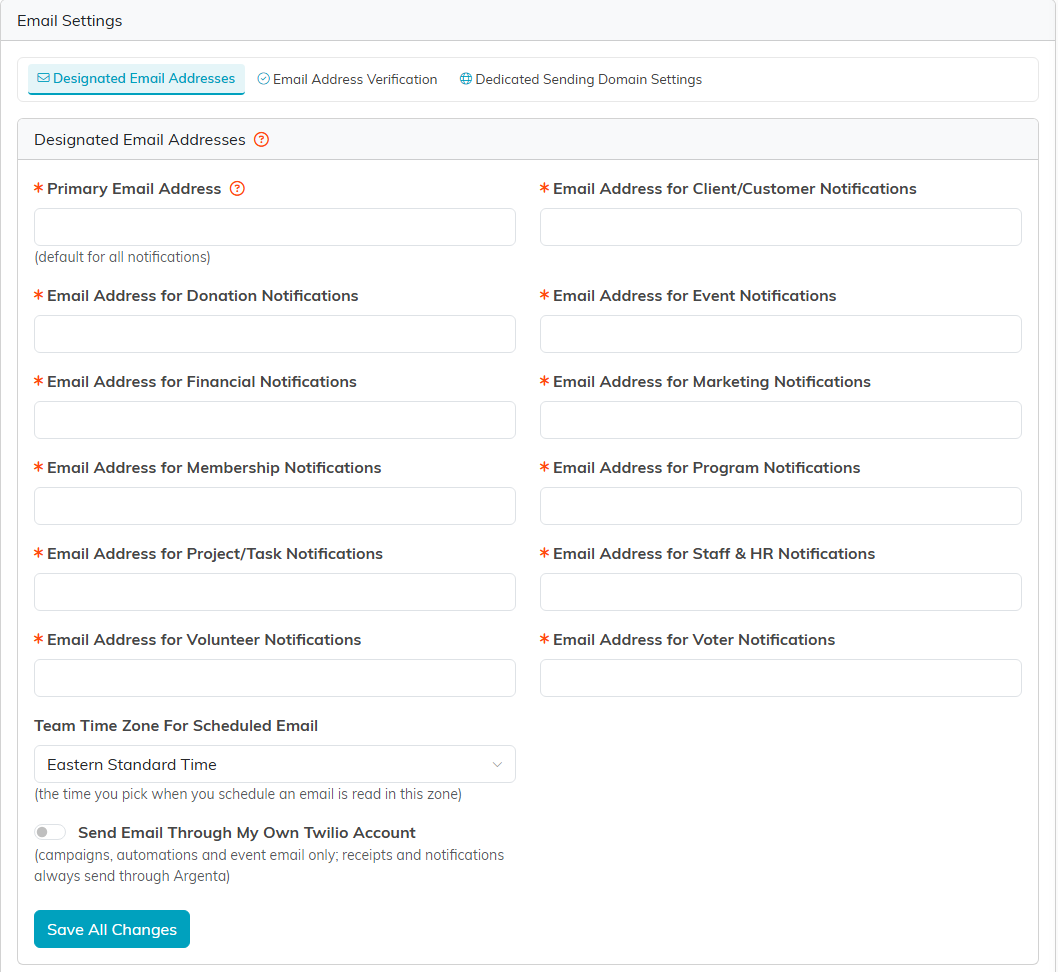
- In Designated Email Addresses, enter your Primary Email Address. It is the default for every kind of email.
- Fill in an address for each area, such as Email Address for Donation Notifications or Email Address for Event Notifications. That address is what the area's emails are sent from and where its notices go, so replies reach the right inbox. Every one of them is required: for an area that does not need its own inbox, enter the Primary Email Address again.
- Check Team Time Zone For Scheduled Email, the zone the time you pick for a scheduled email is read in.
- Click Save All Changes.
Emails go out under your organization's name.
Verify your addresses
Use the Email Address Verification page, next to Email Settings, to verify the addresses you send from.
DNS settings (for better deliverability)
- Go to Settings > Email Settings, then Dedicated Sending Domain Settings.
- Enter your domain, click Generate DNS Records, and add the records it lists at whoever manages your domain's DNS: the DKIM CNAME records, then an MX and a TXT record for the domain's bounce address. They prove to email providers that you are allowed to send from it.

Need help? Contact Argenta support for help with DNS configuration.